Free shipping on orders over $399


The Sacred Art of Thangka Creation
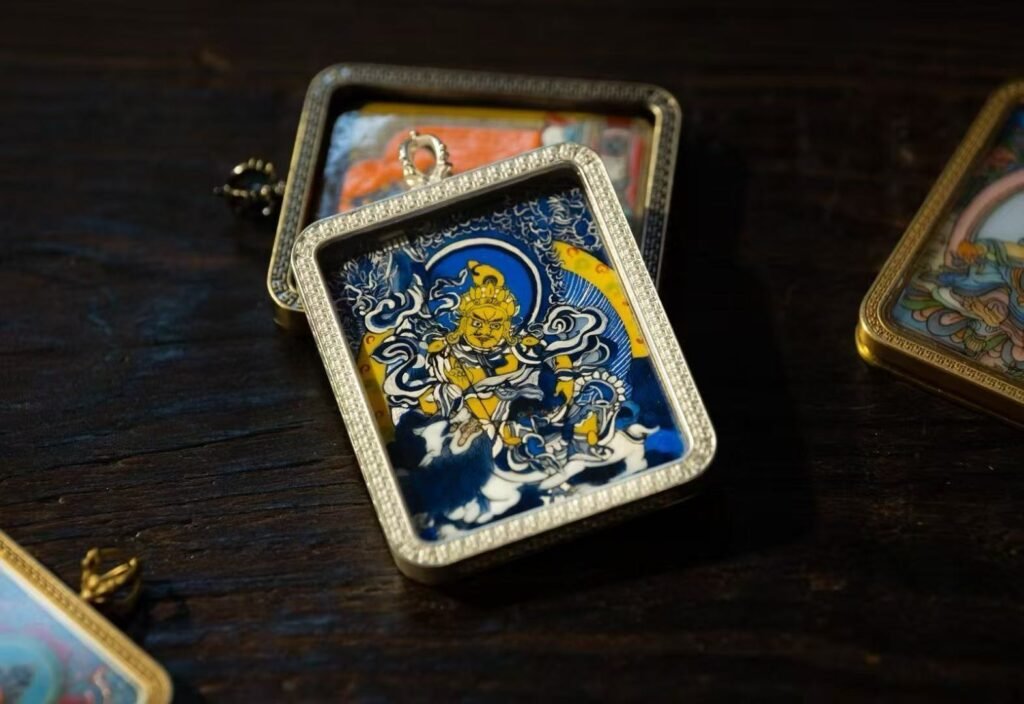
Creating a Thangka is far more than an artistic endeavor—it is a spiritual practice. Every step, from preparing the canvas to applying the final brushstroke, is guided by Buddhist principles and ritual observance.
Step 1: Canvas Preparation
The base is usually cotton cloth, specially treated with a mixture of animal glue and chalk powder. This coating is polished repeatedly to create a smooth, even surface capable of holding fine details for centuries. The cloth is then stretched on a wooden frame called a “kengyen.”
Step 2: Sketching (Dri)
The artist sketches the entire composition using charcoal or a faint pigment, following classical iconography manuals that dictate the precise proportions, postures, and symbolic attributes of each deity. Proportions are measured using a system of body units called “tshugs,” ensuring accuracy and spiritual authenticity.
Step 3: Pigment Preparation
Authentic Thangka pigments come exclusively from natural minerals and gems:
- Gold leaf for radiating halos
- Cinnabar for the iconic red backgrounds
- Azurite and malachite for blues and greens
- Soot and lampblack for blacks and grays
Each pigment is ground with water and a binding agent, traditionally yak gall, to ensure longevity.
Step 4: Painting
Artists work from the background forward, applying color in multiple thin layers. Gold is often applied to clothing and ornaments and can represent up to 30% of the painting’s value. The finest details—facial expressions, hand gestures, and mandala geometry—are painted last with a single-hair brush.
Step 5: Mounting & Consecration
After painting, the Thangka is mounted with silk borders and wooden dowels at top and bottom. Before use, a lama (Buddhist monk) performs a consecration ceremony to invite the deity’s presence into the painting.


